The making of the Roland Junior-106
Oh yes, there will be blood.
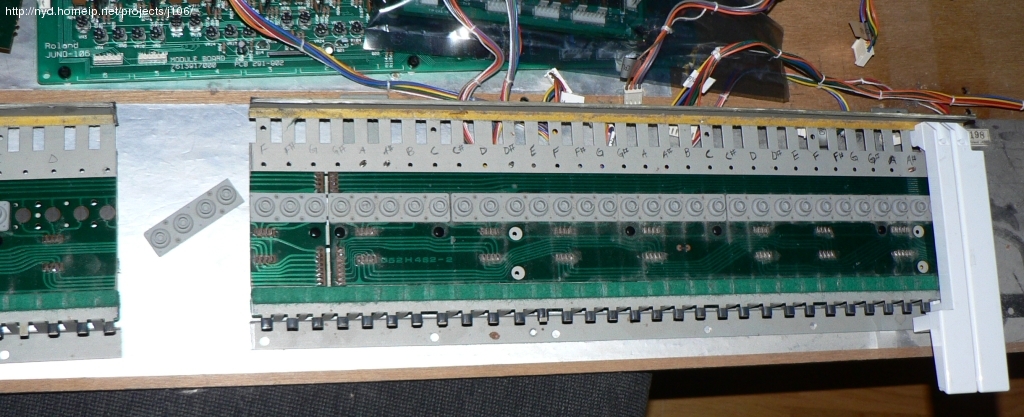
Since the keyboard's connection to the CPU comes from the far righthand side of the keyboard it can be cut to any length desired as long as the upper part is the one being used. My cut will be between E3 and F3, making the keyboard covering F3-C6.

Keys removed, I'm ready to apply some hacksaw action
The cut has been made. No way back from this point...
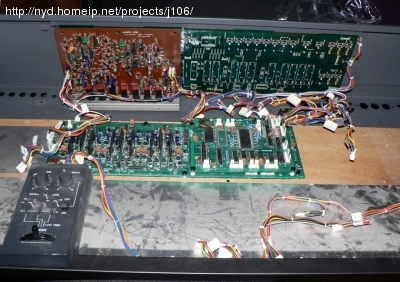
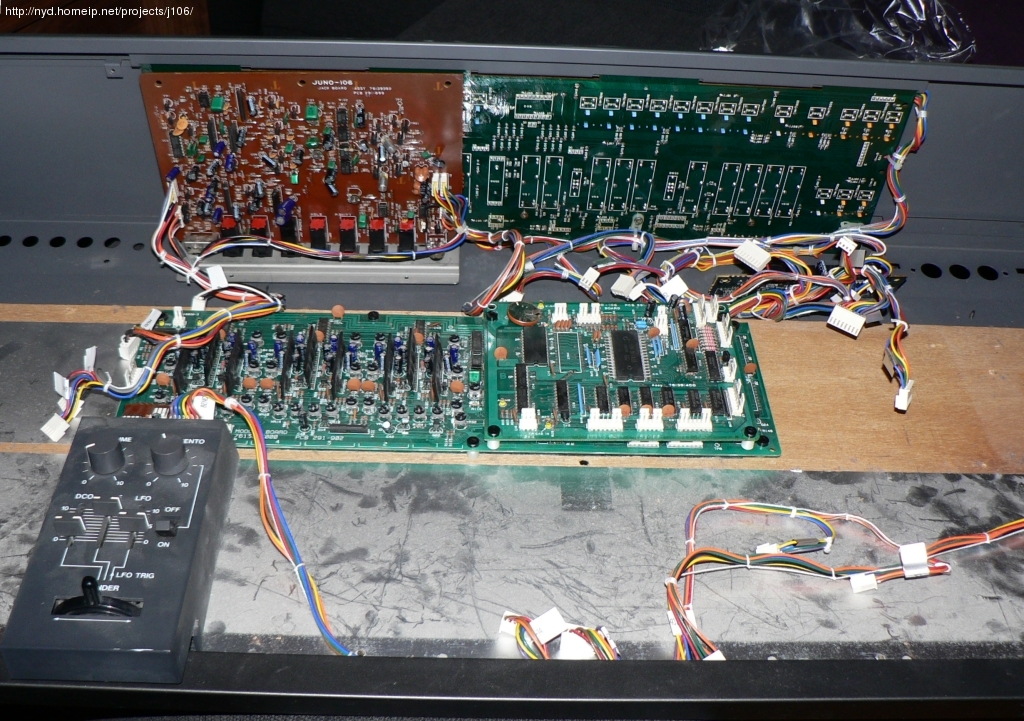
Trying to figure out a good placement for the cards
The observant reader may note that the Jack board is placed at the left side, and the MIDI board at the right. On the finished Junior-106 they ended up the other way around. For now those boards are just placed inside the chassis, no holes has been made to attach them to the back panel.
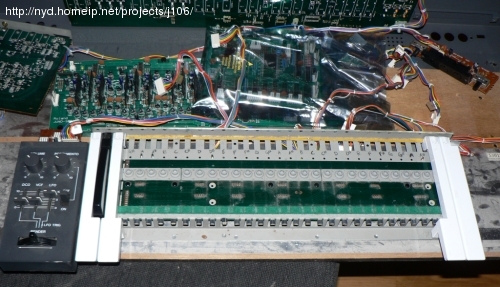
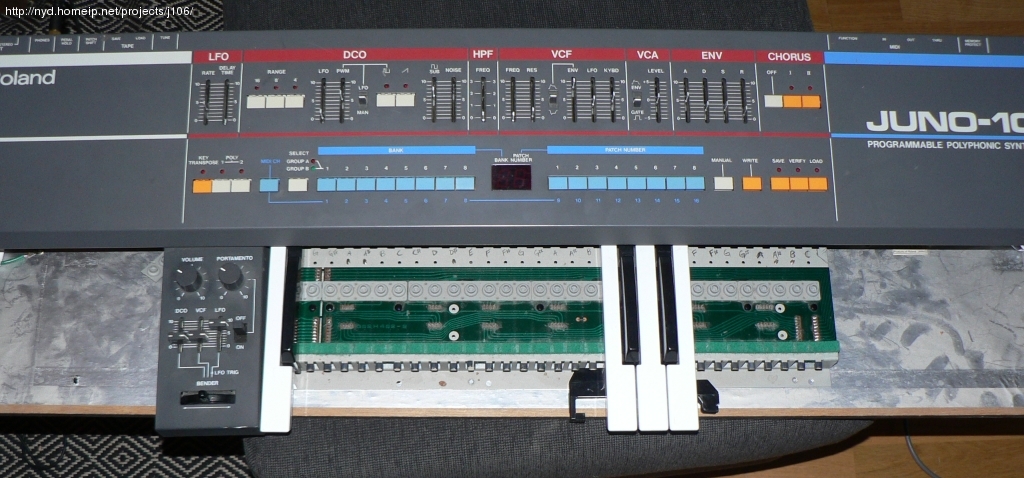
Keyboard fitted to be able to measure where the front panel shall be cut
With the cover closed, and all cards stuffed inside one could
start to get a picture of what the final unit would look like
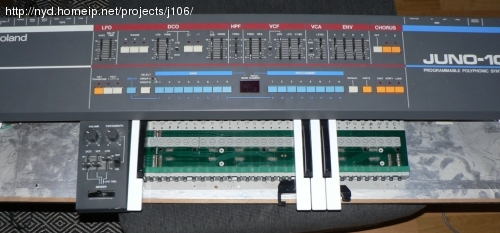
As can be seen here, the bender + keyboard part is a bit too wide
for allowing the front panel to be cut at the
vertical white lines. Too bad, it would have looked even better
Next: Woodwork