The making of the Roland Junior-106
Cut the crap
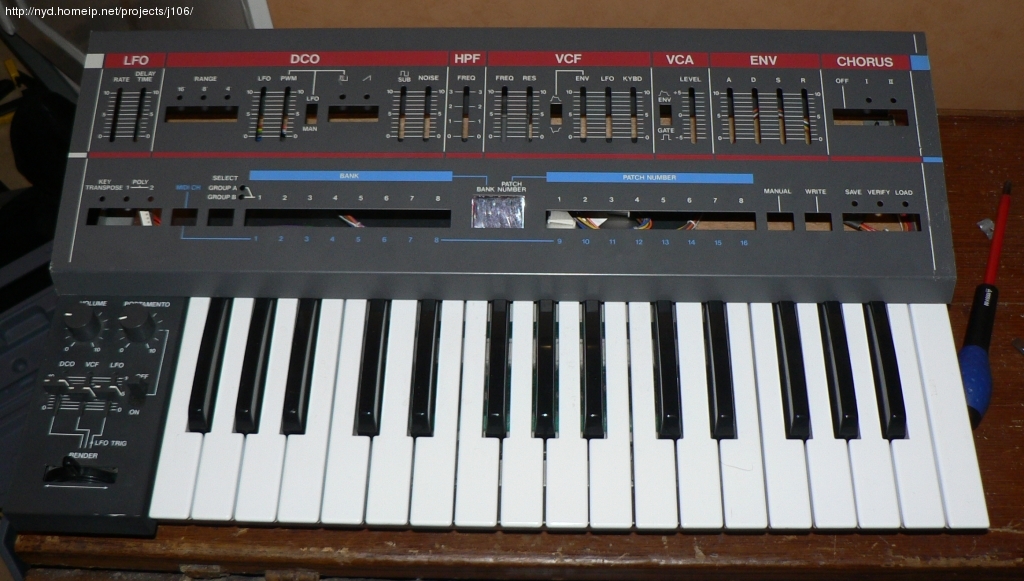
Time to take care of the front panel. On the left side, the panel should extend as much as the bender unit does. On the rightside it should be about 1mm longer than the keyboard reaches. For cutting the panel I used manual labour and a hacksaw. It took a while, but it was easier to saw in a straight line with the hacksaw than to cut it with the Dremel tool. At least with my limited Dremel skills.
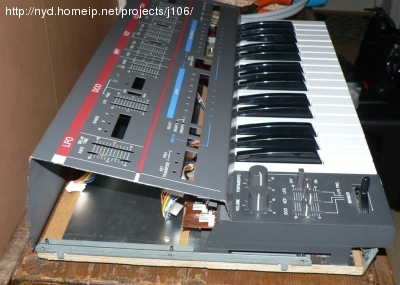
 Maybe I was a bit lucky, but I needed only to adjust minor things with a file until the cut sides were nicely aligned with the black plastic sides. At this point i noted how bad it would look if I destroyed the Roland logo on the back by drilling holes for the Audio and MIDI jacks. The solution for that comes later on.
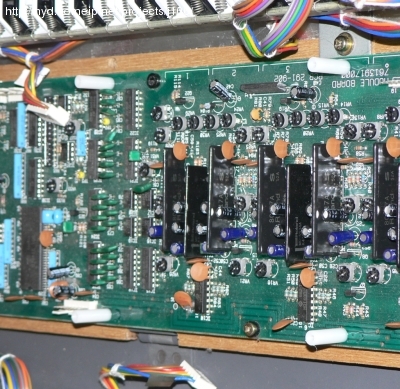
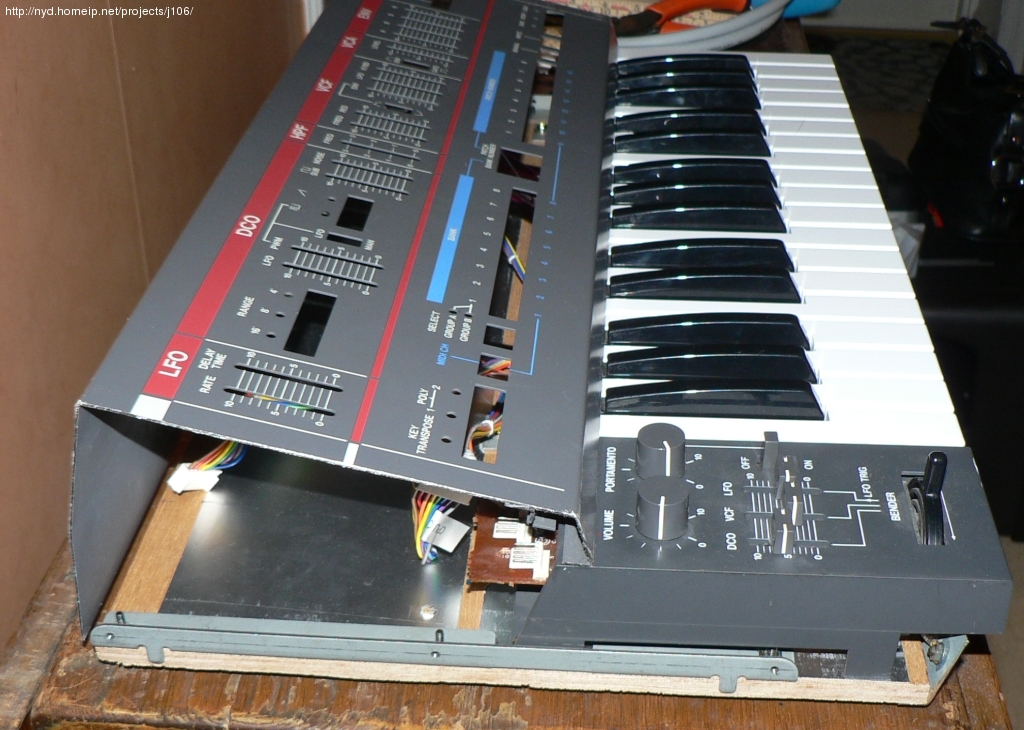
Internally I prepared the Module board with four threaded plastic spacer sleeves. These were glued with epoxy adhesive. Strong enough to lift a car?! Maybe not, bot they would surely keep the CPU board in place. I used spacers with M3 thread, and for the CPU board mounting M3 plastic screws.
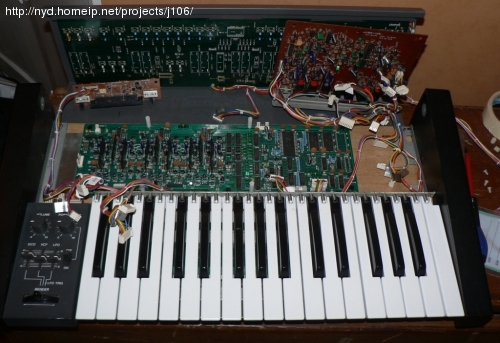
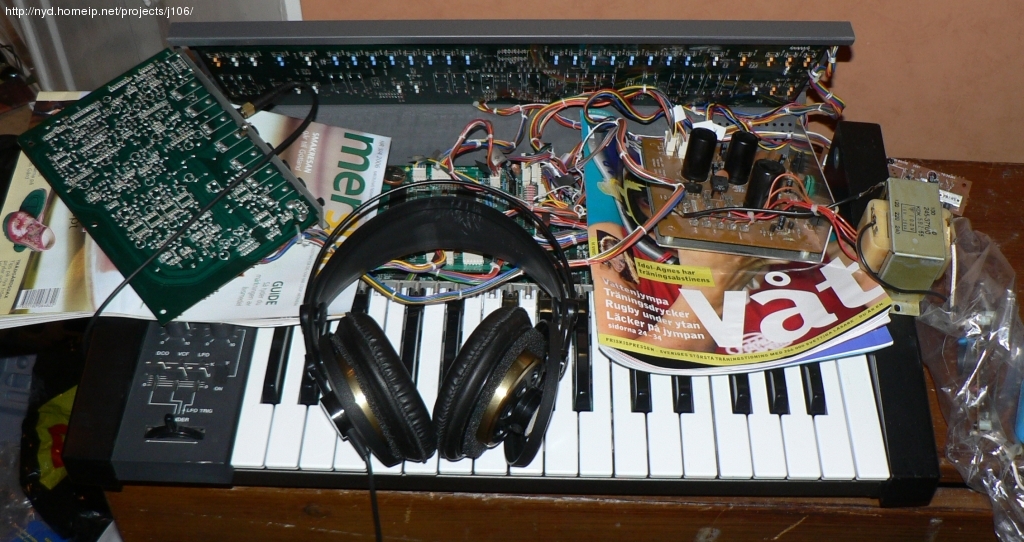
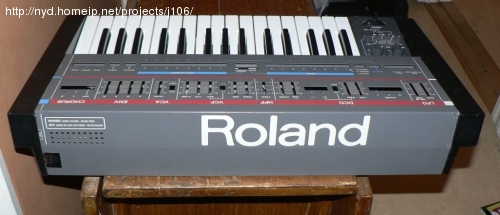
Time to prepare for a test-run, just to make sure I haven't broken anything...
Quite a mess... But it still works! The disassembled PSU parts are on the right
Next: Hole sweet hole